
Principle 1: Start With the Decision, Not the Data
Before a single visualisation is created, identify the three to five decisions that the dashboard's intended user needs to make. Not the reports they need to produce the decisions they need to make. For a state epidemiologist reviewing disease surveillance data, the decisions are: Is any district approaching the outbreak alert threshold? Where is investigation timeliness failing? Are there districts with significant drops in reporting completeness?
Every visualisation that does not directly answer one of these questions belongs on a secondary analytics page, not on the primary decision-support dashboard.
Principle 2: The Right Visualisation for the Right Question
Use the visualisation type that makes the answer immediately visible without cognitive effort.
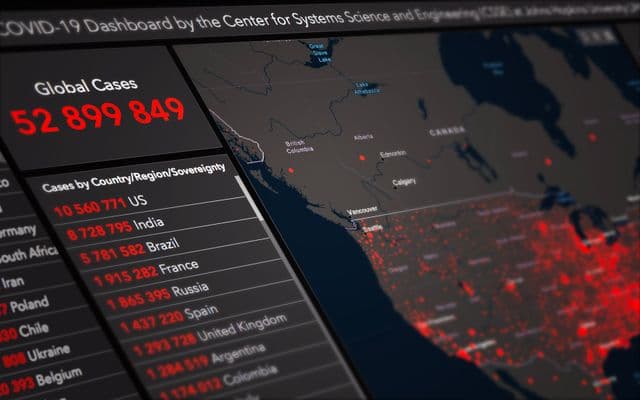
- Thematic maps for geographic distribution: "Where are the cases?" A map communicates in two seconds what a table communicates in two minutes.
- Epi curves (bar charts by date of onset) for epidemic trajectory: "Is the outbreak growing or declining?" The shape of the curve not the exact numbers is the decision-relevant information.
- Single-value cards for threshold monitoring: 7 cases this week against a threshold of 5 communicates urgency immediately.
- Pivot tables for operational drill-down at the second level of analysis, not the first screen.
- Line charts for trend analysis over multiple periods.
Principle 3: Fewer Indicators, More Clarity
A functional decision-support dashboard should display no more than six to eight visualisations on a single screen visible without scrolling. For surveillance dashboards, the indicators that matter are:
- Alert status: Are any districts meeting the outbreak threshold?
- Investigation completeness: What percentage of registered cases have been fully investigated?
- Timeliness: Median days from registration to investigation completion
- Case trajectory: Is the trend increasing, stable, or declining?
- Reporting completeness: What percentage of expected facility reports were received?
Principle 4: Design for the User's Context
A national programme director's dashboard and an LGA surveillance officer's dashboard should look almost nothing alike even if they draw from the same DHIS2 instance. Use DHIS2's user access controls and organisational unit assignments to create role-specific dashboards. Dashboards that show data beyond a user's area of responsibility dilute focus. Dashboards that hide data the user needs to act are useless.
Principle 5: Show Rates and Absolute Numbers Together
Ten cases in a population of 500,000 is a very different risk profile from ten cases in a population of 20,000. Configure the denominator for each organisational unit using the most recent census-based population estimate and build the rate as a calculated indicator. Use the standard of cases per 100,000 population. Always document the denominator source and year in the indicator definition.
Principle 6: Embed the Alert Threshold Visually
Configure outbreak alert thresholds as reference lines on time-series charts and colour boundaries on thematic maps. In DHIS2 Analytics, add a target line at the outbreak threshold so any bar crossing it is immediately visible no calculation required. Pair this with DHIS2's messaging module to send automated notifications to the designated officer when the threshold is crossed.
Principle 7: Data Quality Is Visible on the Dashboard
A surveillance dashboard that shows case counts without showing data completeness presents a partial picture as a complete one. Add a single-value card at the top of every surveillance dashboard showing reporting completeness for the current period. Colour-code it: green above 90%, amber 75-90%, red below 75%.
For deeper data quality analysis, see DHIS2 Data Quality: How to Build Systems That Produce Reliable Data.
Common Mistakes to Avoid
- Building the dashboard before the data is clean. A beautiful dashboard on poor data produces confident-looking wrong conclusions.
- Treating the dashboard as a final deliverable. Schedule a structured dashboard review with primary users six to eight weeks after deployment.
- Making every chart interactive by default. Consider separate operational and analytical dashboards.
- Ignoring loading time. Keep load time under ten seconds. Dashboards that load slowly get closed and replaced with phone calls.